PIM
Catalog Settings > How to set Locales
Written By: Evren Bacak
Last Updated on February 22, 2024
What is Locale in PIM
In the PIM, a locale refers to a specific set of language and regional preferences that determine how product data is presented to users in a particular market or region. Locales play a crucial role in ensuring that product information is accurately localized and tailored to meet the linguistic and cultural expectations of different target markets.
Here are some key aspects of locales in the PIM:
Language: Locales define the primary language in which product data is displayed. This includes the language used for product names, descriptions, attributes, and other textual information.
Region or Country: Locales also specify the regional or country-specific settings for presenting product information. This includes country-specific variations in terminology, formats, and regulations.
Currency: The locale determines the currency used for pricing and financial information associated with products in a specific market or region.
Date and Time Formats: Locales define the preferred date and time formats for displaying product-related information. This ensures that dates and times are presented in a format familiar to the target market.
Measurement Units: Locales can also include measurement units and conversions, enabling the display of product dimensions, weights, and other measurements in the units commonly used in a specific region.
By configuring and associating locales with product data in the PIM, businesses can effectively manage and present product information in a way that aligns with the language, cultural conventions, and regional preferences of target markets. This localization helps enhance the customer experience, improve accuracy, and support global marketing and sales efforts.
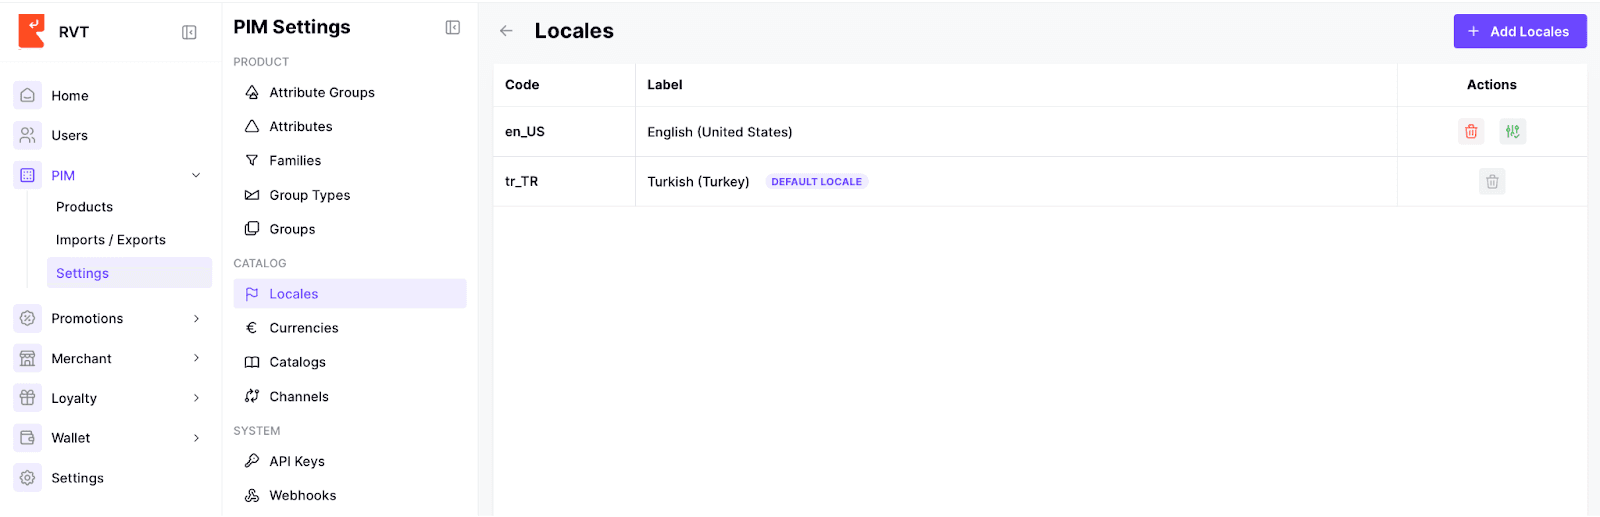
How to set locales in PIM?
To set locales in the PIM, follow these steps:
Access the PIM Settings section.
Look for the option labeled "Locales" and click on it. This will take you to the locales management page.
On the locales management page, you will typically find a list of existing locales and their settings.
To add a new locale, click on the "Enable Locale" button located in the top right corner of the page. This will initiate the process of creating a new locale.
In the locale creation interface, you will need to select the necessary region for the new locale. Click on the region you want to add and click the “Enable Selected Location” button.
Save the new locale by clicking on the "Save" button .
The newly created locale will now be available for use in the PIM.
If you want to remove any locale from the list, you can click on the "Disable" button right next to the respective locale on the list. This will disable the locale and remove it from the active locales in the PIM.